

Add DIY Gel Nails to Your 2024 To-Do List Now! Beginner-Friendly Guide!
Gel nail polish hardens on the nails only when exposed to ultraviolet (UV) or LED light, creating a sturdy and chip-resistant manicure. This is why gels can only be set using LED or UV light emitted from specific lamps. The process typically involves applying multiple layers, including a base coat, colored layers, and a top coat.
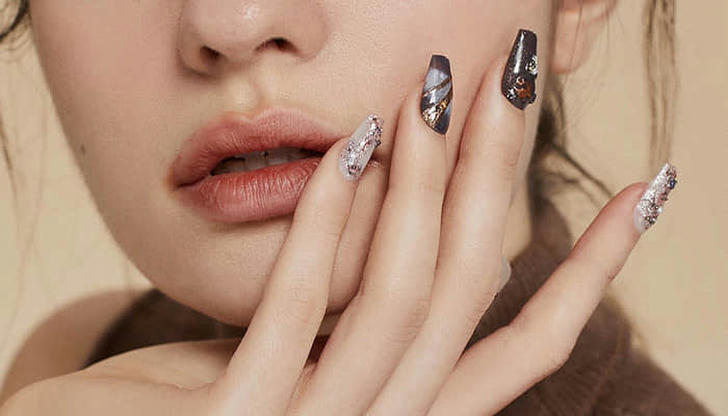
Although gel manicures may look similar to traditional ones, their added benefits include lasting longer and providing an exceptionally glossy finish, making your nails feel strong. Moreover, the beauty of gel manicures lies in their inclusivity – anyone, regardless of nail length, can enjoy them.
In the world of nail care, achieving salon-quality gel manicures at home is not only a cost-effective option but also an empowering skill to master. If you're a beginner looking to dive into the realm of DIY gel manicures, this comprehensive guide is tailored just for you. From essential tools to step-by-step instructions, let's explore the art of creating stunning gel nails from the comfort of your own home.
Before embarking on your DIY gel manicure journey, it's crucial to prepare the necessary tools and products. Here's a checklist to ensure you're well-prepared:
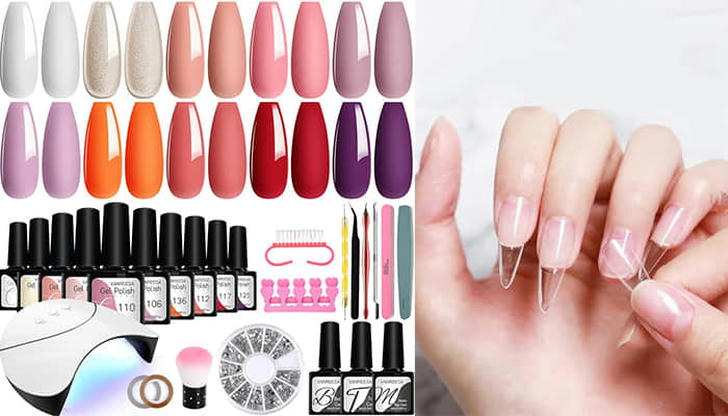
UV or LED Lamp: Used to cure the gel nails.
Gel Base Coat: Enhances adhesion between the natural nail and the gel.
Gel Nail Polish: Choose your preferred colors.
Gel Top Coat: Provides protection and adds gloss.
Nail File and Buffer: Used for shaping and smoothing the nail surface.
Nail Clippers and Nail Trimmer: Used for trimming and tidying nails.
Nail Brush or Gel Brush: Used for applying gel nail polish.
Nail Repair Brush (Optional): Used for cleaning up excess gel around the edges.
Alcohol or Gel Cleanser: Used to wipe the nail surface and remove residue.
Nail Polish Remover: Used to remove old gel nail polish.
Nail Polish Removal Pads: Soaked in remover and placed on the nails to remove gel.
Cuticle Softeners: Used to soften and moisturize the cuticles
Next, let's get started
Section 1: Preparing Your Nails
First, we start with clean, dehydrated nails. Actually, one of the biggest problems with gel polish not lasting is the natural oils on the nail plate, so wash your hands and clean your nails with nail polish remover (100% pure acetone).
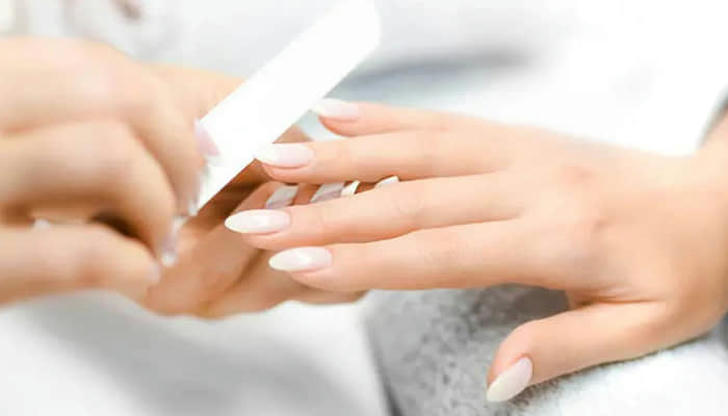
We shape the nails into a soft square shape. Use a 180-grit nail file. It will be soft enough to file the free edge of your nail without making it too rough, but it'll also be gritty enough that you can use it to lightly polish (or etch) the top of your nail plate for a gel polish The agent will adhere correctly. Make sure to lightly file the entire nail so the polish sticks! It should look white and chalky.
One of the common misconceptions is that you should use a soft buffer to smooth your nail plate, but if your nails are too smooth, the gel will peel right off. Using the right grit and nail file can greatly extend the life of your manicure!
Section 2: Trimming Dead Cuticle
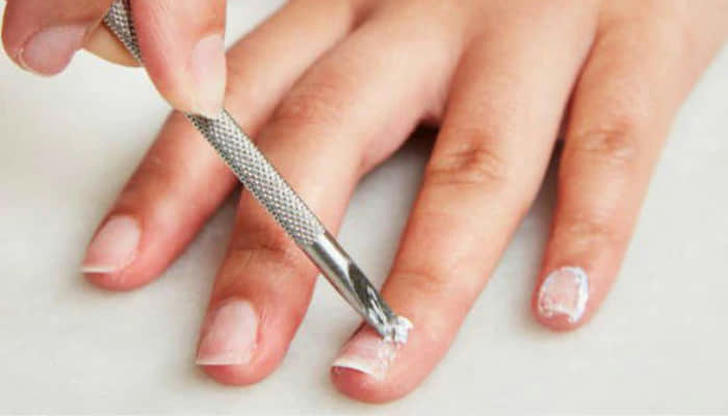
Next, soften the cuticle layer using a cuticle softener to remove dead skin. Apply a few drops near each cuticle, letting it work for 1-2 minutes. Gently scrape off excess cuticle while pushing it back – crucial for a lasting manicure.
Once cuticles are pushed back, delicately trim off dead tissue using an opened cuticle nipper. Clean thoroughly with a brush and 100% pure acetone. After drying, apply two coats of non-acidic nail primer. Be cautious as nails will be tacky until fully finished!
Section 3: Applying the Gel Polish
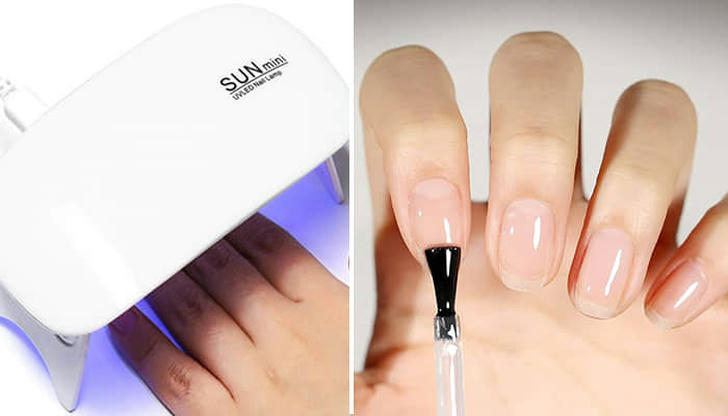
Now that your nails are ready, let's dive into the application process:
Begin with a thin layer of base coat, ensuring full coverage across the entire nail surface. Cure under a UV or LED lamp for 60 seconds, following the product instructions.
After curing, apply the first layer of your chosen gel nail polish color. Ensure a thin and even application, then cure under the lamp for 30 seconds.
Repeat the process for the second layer of color, ensuring proper curing for each layer.
Finish with a thin layer of top coat to add shine and extend the lifespan. Cure again under the lamp.
Section 4: Perfecting the Details
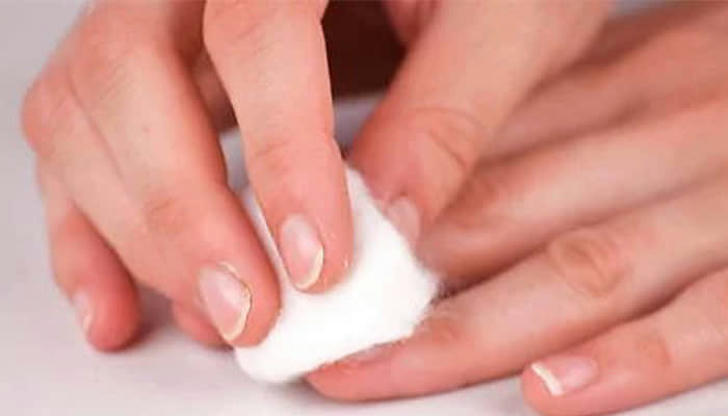
To achieve a flawless gel manicure, pay attention to the details: Use a clean-up brush dipped in nail cleanser or rubbing alcohol to fix any polish mistakes around the edges of your nails.
Wipe away the sticky residue left on your nails after curing with a cotton ball soaked in isopropyl alcohol or gel cleanser.
Section 5: Maintaining Your Gel Manicure
To keep your manicure looking beautiful for weeks, follow these maintenance tips:
Regularly apply cuticle oil to keep your nails moisturized. When doing chores or other activities, please wear gloves to protect your gel manicure. If you notice any chips or lifting, repair them promptly to extend the lifespan of your manicure.
Congratulations, you've successfully begun your journey to mastering DIY gel manicures! With the right tools, a bit of practice, and creativity, you can achieve professional-looking results from the comfort of your home. Experiment with colors, designs, and techniques to personalize your gel nails and showcase your unique style. Enjoy the satisfaction of flaunting your stunning, long-lasting gel manicure – crafted by your own hands.